This document introduces the integrated OWL editor. Although the editor mainly targets OWL ontologies, it can be used for any type of RDF document.
Create a new ontology
Ontology files need to be contained within a project like any other file resource in Eclipse. So if you start with an empty workspace you have to create a container project for your ontologies first. Open the creation dialog with File > New > Project… and then select General > Project or any other project wizard (like Java project).
You can use the Ontology creation wizard (New > Other… and select RDF > Ontology) to create an RDF file of the desired format (RDF/XML, Turtle or others) within a project.
|
You can also simple create an empty file with the associated extension of an RDF format (e.g. myfile.ttl for Turtle) and double click on it to open the OWL editor. |
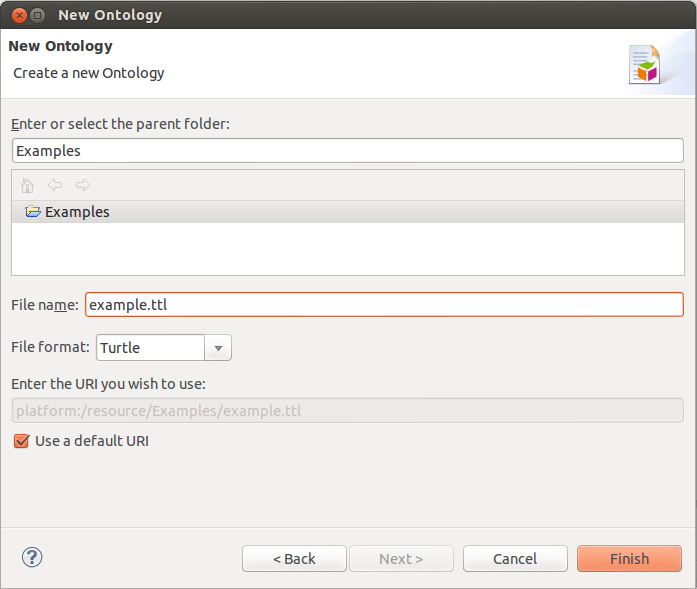
The wizard asks you for a project, a file name, a file format and a URI of the new ontology. The wizard creates a file with the following content :
@prefix : <platform:/resource/Examples/example.ttl#> .

<platform:/resource/Examples/example.ttl> a <http://www.w3.org/2002/07/owl#Ontology> .
Imports and namespaces
The ontology editor page can be used to change the ontology URI, to manage the owl:imports and to add prefix declarations for namespace URIs of imported ontologies.
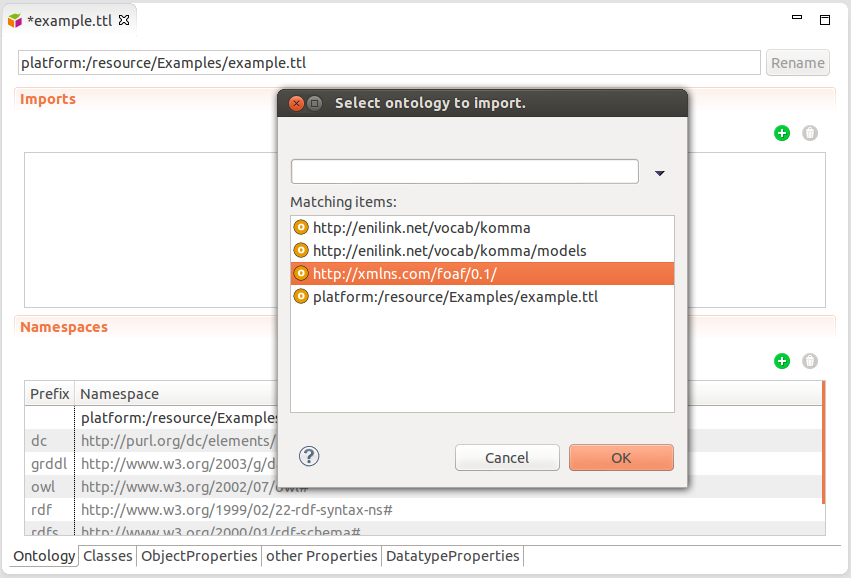
The imports dialog allows to select KOMMA’s built-in ontologies as well as other ontologies within the same project or from referenced projects. Additionally, it is possible to simply input a URI of an external file.
Classes and properties
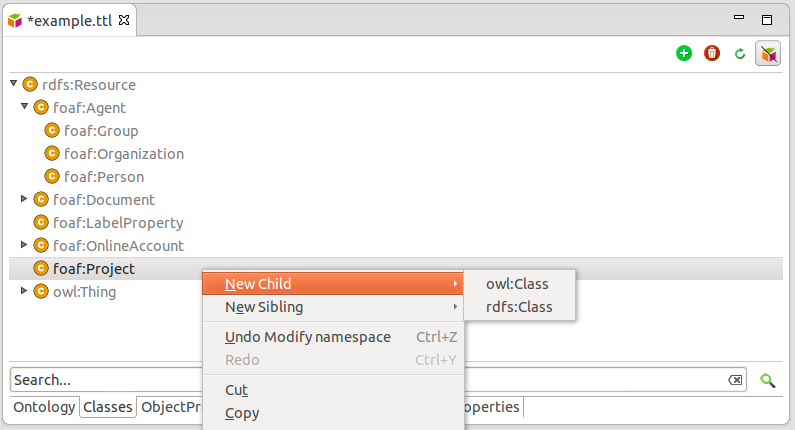
The OWL editor provides hierarchical views for
-
RDFS and OWL classes,
-
OWL object properties,
-
OWL datatype properties and
-
other basic RDF properties or RDFS/OWL built-ins.
Each view shows a hierarchy of classes or properties. New elements can be created by using the add button on the top-right or the context menu on any item. The hierarchy can be structured by drag and drop actions with the mouse or by changing the underlying RDF data. Most operations in KOMMA support undo/redo.
Edit resource properties
Properties of any RDF resource can be displayed and edited with KOMMA’s RDF view. Use Show view > Other… and then select RDF > RDF or simply use Ctrl+3 to open the view.
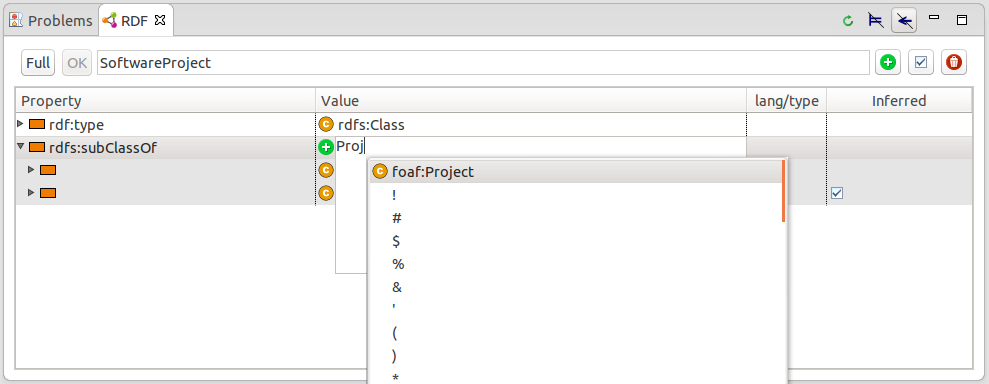
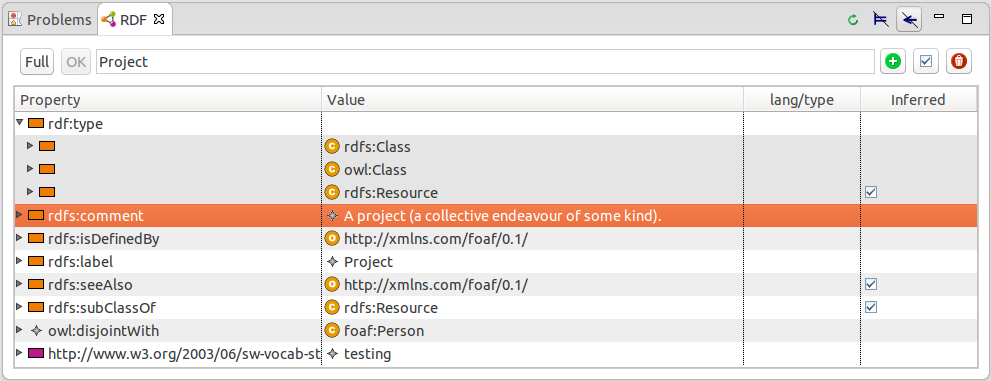
The properties are displayed in a tree where the first column shows the property name and the second column its first value. More values can be seen by expanding a property node. The other two columns show the language or the data type of literals and if the corresponding triple is inferred.
New properties may be added to a resource by using the Add property action from the popup menu. This action adds a new row to the tree and opens an editor within the property column.
New values for an existing property may be added by double-clicking the respective property, by using the Add value action from the popup menu or by expanding the property node and inserting a value into the empty cell to the right.
| You can also use the Add value with wizard and Edit value in dialog actions on the top right. The corresponding dialogs are currently only prototypical implementations and hence require some rework to allow efficient editing. |
Existing RDF resources as values (e.g. for OWL object properties) can be easily selected by invoking the content assist with Ctrl+Space. The content assist can also be used within Manchester Syntax expressions.